
Kemo TV on Smart TVs: a straightforward setup guide
A practical walkthrough of installing Kemo TV on your Smart TV, with notes on firmware, remotes, and the small comforts that make a big-screen viewing experience feel right at home.
Key takeaways
- Confirm your TV's model and firmware before you install anything.
- The big-screen layout is tuned for remote navigation, not touch.
- Expect a short settling-in period after the first boot — audio sync and HDR tend to normalise after a few minutes.
Before you start
Smart TVs are a mixed bag. Behind every brand sits a different operating system — some have open app stores, some are tightly curated, and a few expect you to pair the TV with a dedicated streaming device. That means the single most useful thing you can do before installing Kemo TV is figure out exactly which platform you're on and what version it is running.
Nothing else in this guide is as impactful as that first check. The difference between a five-minute install and a frustrating afternoon almost always comes down to a firmware mismatch or a model that uses an older app runtime than the current build expects.
Find your model and firmware in two minutes
On most TVs the model number is printed on a sticker on the back and also shown under Settings → About, System, or Support. The firmware or software version lives next to it. Write both down before you continue — you'll want them handy if you need to contact support.
Three install paths you'll encounter
Depending on your TV, one of three paths will apply. Knowing which one in advance avoids most of the usual troubleshooting.
- Native app store: the simplest case. Search for the app, install, sign in.
- Sideload-friendly launcher: your TV supports an alternative launcher that lets you install compatible packages. Slightly more setup but no extra hardware.
- Companion streaming device: your TV doesn't support the app natively, so a small streaming stick plugs into HDMI and does the heavy lifting.
Which category you fall into is model-specific. The official compatibility page is the final source of truth — don't infer it from reviews or forum posts, which often mix model years.
Step by step: first install
Assuming you're on a TV that supports Kemo TV directly, the install flow is short. The steps below are generic enough to cover most Smart TVs; your menu names may differ.
- 1Open your TV's app store or app library from the home screen.
- 2Search for the Kemo TV app. If you don't see it, double-check your TV model is on the supported list.
- 3Install the app and let the TV finish the initial download and setup.
- 4Open the app, accept any permissions it asks for (network access, device identification).
- 5Sign in with your account details, or create one if this is your first time.
- 6Give the home screen a few seconds to populate — it's loading your recommendations and continue-watching state in the background.
Give it a minute after first launch
The first time the app opens, it does a few background tasks that make everything feel snappy afterwards. If something looks off during that first minute (missing artwork, slow scroll), it almost always resolves on its own.
What the big-screen layout is tuned for
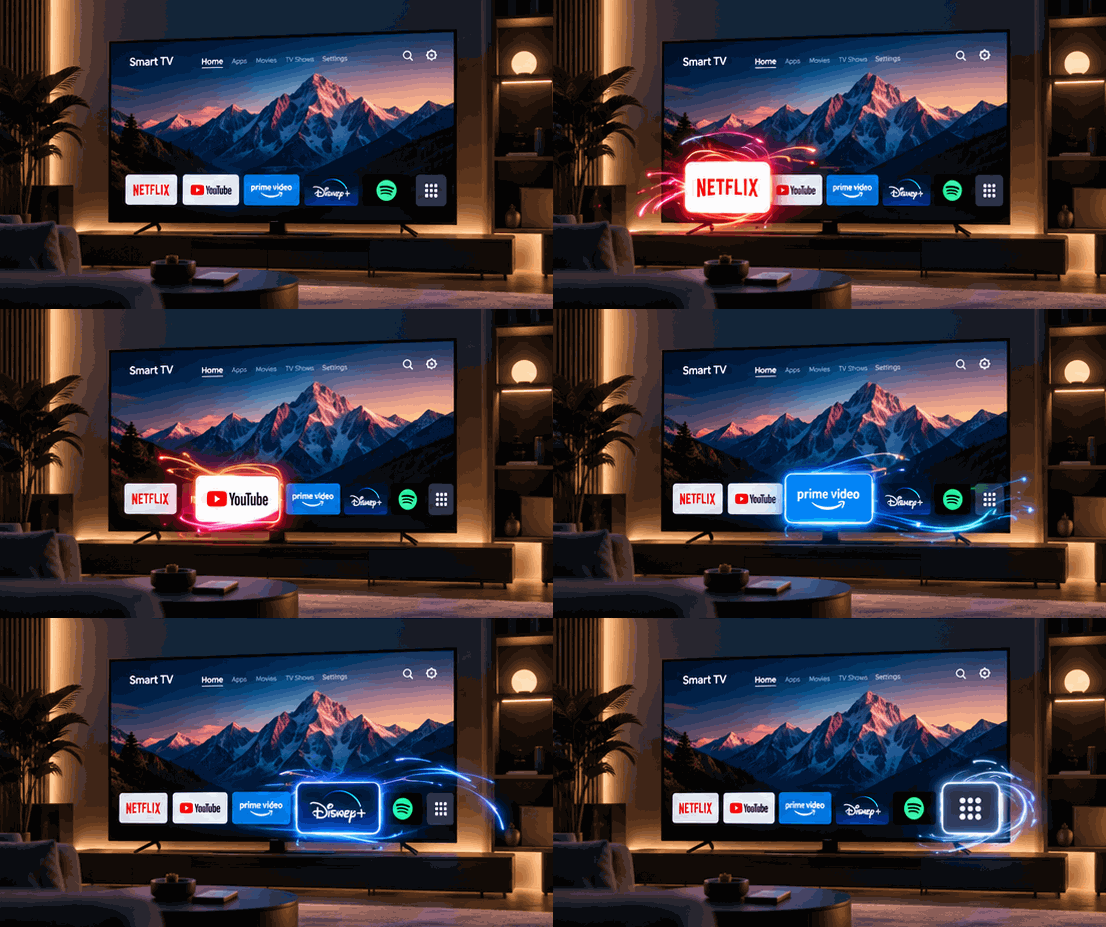
A living-room layout isn't just a shrunken-down phone screen scaled up. The design starts with how far you are from the display and what you're holding in your hand — usually a plain IR or Bluetooth remote with eight to twelve buttons.
Rows are tall enough to scan from the couch at normal viewing distance, which usually means fewer items visible per row than you'd see on a desktop. That trade-off is deliberate. The focus ring that shows which card is selected is high-contrast so you never lose your place after glancing away.
Controls stay out of the way until you need them. Playback chrome fades after a short delay, the channel info banner disappears unless you summon it, and transient notifications live at the top edge rather than cutting across the content.
“The best TV UI is the one that lets the content do the work. Everything else is just scaffolding.”
Day-to-day navigation
Most couch sessions follow a familiar pattern: open the app, find yourself in the Continue Watching row or on the last channel you had on, and move from there. The design optimises for that pattern rather than forcing you back to a landing page every time.
- Up/Down moves between rows.
- Left/Right moves within a row.
- OK/Select opens the focused card.
- Back goes to the previous screen (or to the home row from any detail view).
- The Home key always exits to the TV home, never into a confusing in-app home.
Pressing Back from the home row doesn't exit — a long press on Back does. That tiny guard prevents accidental exits when you're trying to leave a submenu.
Audio, video, and HDR tips
Modern TVs ship with aggressive post-processing enabled by default: motion smoothing, noise reduction, dynamic contrast, and auto-colour. Most of those settings are tuned for brightly-lit showrooms, not your living room, and they generally make streaming content look worse rather than better.
Two settings are worth a sanity check the first time you watch something: Game Mode (reduces input lag; usually fine to leave off for passive viewing) and Motion Smoothing (the thing that makes film look like a soap opera; worth disabling).
HDR can look washed out until the TV figures it out
Some TVs take a few seconds to detect HDR metadata when a stream switches format. If a scene looks washed out at the start, give it a moment before changing settings. Changing picture modes mid-stream often just makes it worse.
Troubleshooting the usual suspects
If something doesn't feel right after setup, the five fixes below cover the overwhelming majority of real-world issues.
- 1Restart the TV with a full power cycle (unplug for thirty seconds).
- 2Check for a system update under Settings → Support or System. New TVs ship with months-old firmware.
- 3Confirm the TV is on the correct Wi-Fi band for your router (5 GHz is usually smoother than 2.4 GHz for streaming).
- 4Reinstall the app if the home screen looks stuck or artwork refuses to load.
- 5If nothing works, contact support with your model number and firmware version written down.
Where to go next
Once the app is running, there isn't much more to do — the point of a Smart TV setup is that you only configure it once. Spend five minutes browsing the catalogue so the recommendation engine has a sense of your tastes, then let it get out of your way.
If you're planning to add more devices (a phone, a tablet, a second TV), the shared account syncs continue-watching state and preferences across them. That's covered in the device guides for each platform.